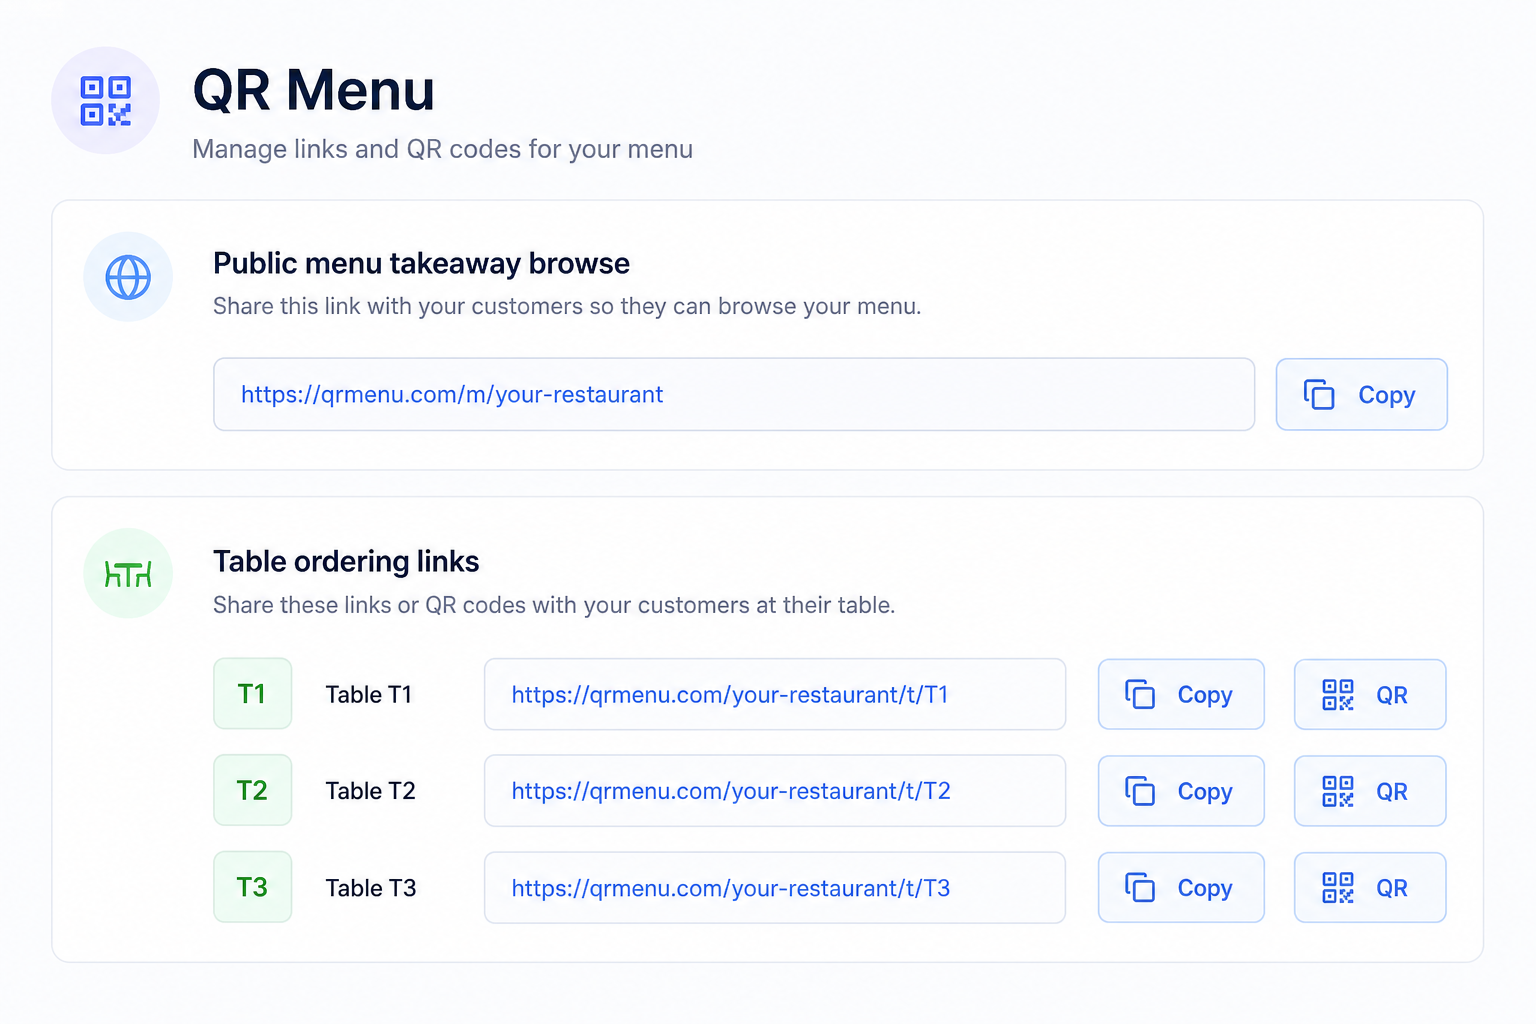
QR Menu — general public menu link and per-table ordering QRs
Step-by-step
1Open QR Menu from the sidebar.
2General QR (public menu): copy the Public menu (takeaway / browse) link at the top — e.g. your-name.posora.co/menu. Generate a QR from that URL and place it at the counter, entrance, or for takeaway. Guests browse the full menu; they are not locked to a table.
3Table QR (dine-in): under Table ordering links, open QR for each table (or copy the link). Print and place one code on each table — not the general menu link.
4When a guest scans a table QR, dine-in opens with that table set automatically; they cannot switch table or switch to takeaway from that link.
5Guest browses → enters mobile number (required for online pay & WhatsApp updates) → pays with Razorpay when online payment is configured.
6Paid orders appear in Orders / KDS ready to prepare.
Tips
• Use general QR for walk-ins / takeaway marketing; use table QR only on seated tables so kitchen knows where to serve.
• Create tables under Tables first — table QR links appear after tables exist.
• Configure Razorpay under Settings → Payment Gateway (or use platform keys).
• WhatsApp payment + invoice messages need an approved template and a guest phone number.